- How to ensure the quality of decoration with waterproof backing board
- Qingyu waterproof backing board is exported to the Middle East: technological empowerment and cultural adaptation drive a new paradigm of Chinese building materials overseas
- True crystal plate: the "new star" in the material world appears
- Qingyu HD-XPS: The "pressure-resistant and energy-saving double shield" of the cold storage floor solves the problem of low temperature and heavy load
- Going one step further than "better insulation": antibacterial real crystal panels, redefining energy saving and health
- The first step in building a self-built house is to choose Herring 10cm antibacterial real crystal board for base layer insulation, moisture proof and antibacterial
E-mail:greenfishcn@163.com
Phone:13370076925
TEL:0086-400-167-9158
Address:702, No. 285 Rongxing Road, Shanghai, China
How to install tile backer board for bathrooms
How to install tile backer board for bathrooms? We'll analyze installation methods, precautions, and gap size requirements:

1. How to Install Tile Backer Board in the Bathroom
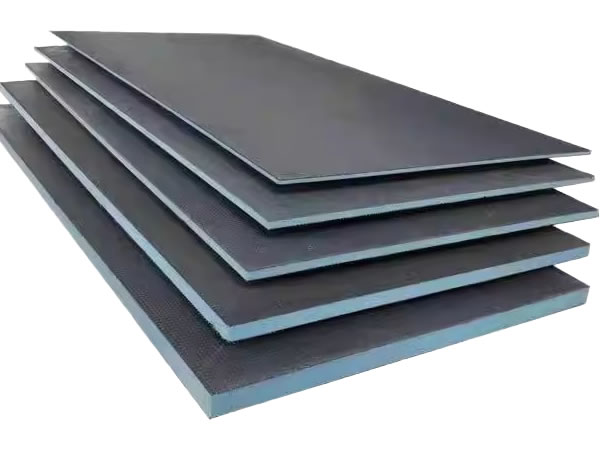
Tile backer board is a new building material that offers multiple functions, including waterproofing, heat insulation, and sound insulation. It's suitable for both bathroom walls and floors. Below are the steps for installing tile backer board in the bathroom.
Preparing Tools and Materials: Ensure all necessary tools and materials are ready, including tile backer board, tile adhesive, premixed mortar, anchors, self-adhesive mesh, and waterproof superglue.
Wall Preparation: Use a laser wall leveler to determine the finished thickness of the backer board and ensure the wall is flat. If the wall is uneven, leveling is required.
Securing the Spout Position: Determine and secure the spout position, ensuring that it protrudes one centimeter above the backer board after installation.
Cutting and Fitting: Precisely cut the tile backer board according to the wall dimensions and the location of the spout and base box.
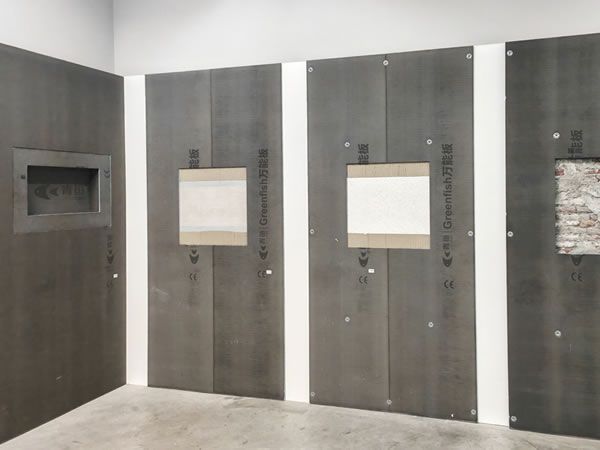
Installing the backer board: Mark the wall with premixed mortar plaster at 30cm intervals, then install the backer board. Use a Y-adjuster and a straightedge to check for verticality.
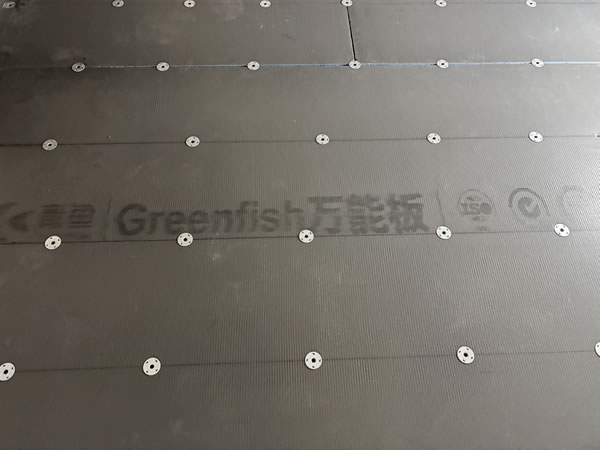
Securing the backer board: Drill holes in the plaster plaster with an electric hammer and secure the backer board with stainless steel claw washers and anchors.
Joint Treatment: Fill the backer board joints with self-adhesive mesh and waterproof superglue to ensure a waterproof seal.
Gap Treatment at the Top: Fill the gap at the top of the backer board with premixed mortar to ensure there are no gaps.
Floor Laying Techniques: For floor tile backer board installation, first smooth and compact the sand layer. Pre-lay the tiles according to the room's conditions, lock the position, and cut the holes and grooves. Apply C2 or higher tile adhesive to the reverse side before laying. Pay attention to waterproofing the joints using a rubber waterproof membrane, mesh, and corner sealants.
Acceptance Inspection: After installation, conduct an inspection to ensure the tile backer is securely installed and the waterproofing effect is as expected.
Please note that specific installation steps may vary depending on product specifications and the application environment. Therefore, it is recommended to carefully read the product manual or consult a professional before installation.

2. Precautions for Installing Tile Backer in the Bathroom
When installing tile backer in the bathroom, there are several key considerations to keep in mind to ensure waterproofing effectiveness and installation safety.
Surface Preparation: Ensure the base layer is firm, flat, and clean, free of dust, grease, wax, release agent, and other debris. Porosity, cracks, and other imperfections in the base layer should be repaired and smoothed with cement-based polymer mortar beforehand. Keep the base surface moist and free of visible water.
Material Selection: Choose waterproofing materials with high adhesion, high impermeability, high compressive strength, a certain degree of elongation, and good water resistance and durability, such as water-based coatings or cement-based penetrating crystalline waterproof coatings.
Application Method: Apply evenly and carefully, making sure not to miss any gaps. Maintain a perpendicular angle between the first and second coats for full coverage. Avoid applying too thick a coat in a single application to prevent cracks after drying.
Curation and Protection: Within 24 hours after application, it is recommended to cover the coating with a damp cloth or spray it with water for maintenance. Avoid walking, exposure to rain, direct sunlight, or sharp objects until it is completely dry. Especially during later renovations, be careful not to damage the waterproof layer.
Detailing: Pay special attention to correct application at intersections between horizontal and vertical surfaces, corners, and internal and external angles to ensure these detailed areas are properly waterproofed.
Acceptance and Inspection: During application, inspect the coating as you go. Repair any quality issues promptly. Only proceed to the next coating process after passing inspection.
Finished Product Protection: After the waterproof layer is applied, avoid hammering or chiseling the layer to prevent damage.
Following these precautions can effectively improve the installation quality and durability of bathroom tile backing, ensuring waterproofing effectiveness and safety.

3. Bathroom Tile backer board Gap Dimensions
There's no fixed standard for the gap dimensions between bathroom tile backer boards, as this often depends on specific construction requirements and design. However, some recommendations can be provided based on common construction practices and industry standards.
Joint Width: The joint width between tile backer boards generally doesn't need to be too wide, typically between 5-10mm. This ensures the joint is properly sealed and avoids excessive material waste.
Sealing: Joints should be treated with an appropriate sealing material, such as waterproof sealant or butyl tape, to ensure waterproofing. The width of the sealing material should be slightly larger than the joint width to ensure complete coverage.
Additional Layer Width: In some cases, it may be necessary to add an additional waterproofing layer to the joint. The width of the additional layer may vary depending on the location. For example, the effective width of the additional waterproofing layer on a roof is generally 250mm, while the width of the additional waterproofing membrane in a basement may be around 300-500mm.
Construction Specifications: During construction, relevant construction specifications and standards, such as GB50207-2012 "Roofing Engineering Quality Acceptance Code," should be followed to ensure waterproofing effectiveness and structural safety.
Material Characteristics: Different tile backer board materials may have different construction requirements. For example, backer boards made of materials such as XPS extruded board may require special joint treatment to ensure waterproofing performance.
Design Considerations: The size of the reserved gap should also take into account both aesthetics and practicality. For example, if the backer board is used on bathroom walls, the size of the gap may affect the overall visual effect.

In general, the installation of tile backer board in the bathroom should be determined based on specific construction conditions, material characteristics, and design requirements. During actual installation, it is recommended to refer to the manufacturer's installation guide or consult a professional installer. Given the unique characteristics of the bathroom environment, the installation of tile backer board requires careful attention to detail to ensure the long-term and reliable waterproofing effect.
- Previous:Is backer board the same as drywall?
- Next:Do I need to reserve expansion joints for the leveling of ceramic tile backer boards?